

Flushing your water heater is an essential maintenance task that helps remove sediment buildup, ensuring efficient operation and prolonging the lifespan of the unit. Over time, sediment can accumulate at the bottom of the tank, reducing heating efficiency and potentially causing damage. This step-by-step guide will walk you through the process of flushing your water heater safely and effectively.
1. Turn Off the Power Supply:
Before starting the flushing process, ensure the power supply to the water heater is turned off. For electric water heaters, switch off the circuit breaker. For gas water heaters, turn off the gas supply valve.
2. Allow the Water Heater to Cool:
Give the water heater sufficient time to cool down before proceeding with the flushing process. Hot water can cause burns, so exercise caution and allow several hours for the unit to cool.

3. Locate the Drain Valve:
Identify the drain valve located near the bottom of the water heater. This valve allows you to drain the tank and flush out sediment.
4. Attach a Garden Hose:
Connect one end of a garden hose to the drain valve. Ensure the hose is securely fastened to prevent leaks during the flushing process.
5. Position the Other End of the Hose:
Position the other end of the garden hose in a suitable drainage area, such as a floor drain, utility sink, or outdoor area. Make sure the hose is securely placed to direct water away from the area.
6. Turn Off the Cold Water Supply:
Locate the cold water supply valve connected to the water heater and turn it off. This prevents additional water from entering the tank during the flushing process.
7. Open a Hot Water Faucet:
To allow air into the system and facilitate draining, open a hot water faucet in your home. This prevents a vacuum from forming in the pipes and helps the tank drain more efficiently.
8. Open the Drain Valve:
Using a wrench, slowly turn the drain valve counterclockwise to open it. Be prepared for hot water and sediment to flow out of the hose.
9. Drain the Tank:
Allow the water heater to drain completely. Depending on the amount of sediment buildup, this process may take some time. Monitor the water as it drains to check for sediment particles.
10. Flush the Tank:
Once the tank is drained, close the drain valve and turn on the cold water supply. Allow the water to fill the tank partially, then repeat the draining process. This helps flush out any remaining sediment.
11. Repeat if Necessary:
Depending on the level of sediment buildup, you may need to repeat the flushing process multiple times until the water runs clear.
Conclusion:
Regularly flushing your water heater is a simple yet crucial maintenance task that helps remove sediment buildup and maintain efficient operation. By following this step-by-step guide, you can safely flush your water heater and ensure it continues to provide reliable hot water for years to come.
Frequently Asked Questions (FAQs)
The frequency of flushing your water heater depends on factors such as water hardness, usage, and the age of the unit. Generally, it's recommended to flush the tank at least once a year to remove sediment buildup and maintain efficiency. However, in areas with hard water or high sediment content, more frequent flushing may be necessary.
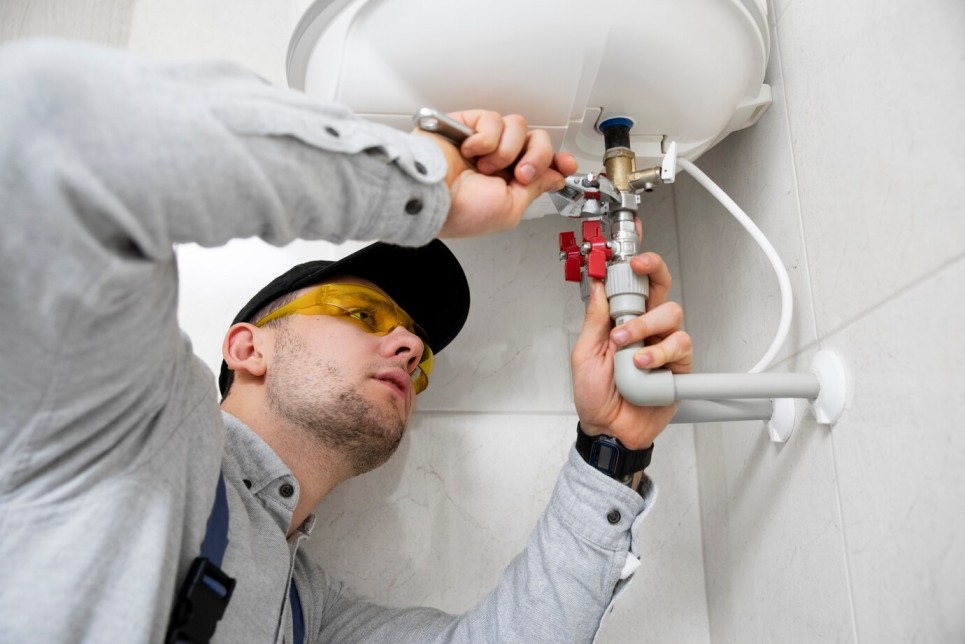
Flushing a water heater is a relatively straightforward maintenance task that many homeowners can do themselves. However, if you're uncomfortable with plumbing tasks or if your water heater requires more extensive maintenance or repairs, it's best to consult a professional plumber. They can ensure the task is performed safely and accurately.
Flushing a water heater helps remove sediment buildup that naturally accumulates over time. Sediment can reduce the heater's efficiency, increase energy consumption, and potentially lead to damage or premature failure. Regular flushing helps maintain optimal performance, prolongs the lifespan of the water heater, and ensures a reliable supply of hot water.
If you encounter any difficulties or unexpected issues while flushing your water heater, it's essential to proceed with caution. Double-check that the power and water supply to the heater are turned off before attempting any troubleshooting. If you're unsure how to proceed or if you encounter significant problems, it's best to contact a professional plumber for assistance. They can assess the situation and provide the necessary expertise to resolve any issues safely.
Contact Us
If you are in need of air conditioner repair, maintenance, or installation services, please don’t hesitate to contact us. Our team of professionals is knowledgeable and experienced in all aspects of air conditioning systems and can provide the best solutions for your specific needs. We also offer regular maintenance plans to help extend the lifespan of your unit and keep it running efficiently. Don’t wait until it’s too late – contact us today and ensure your air conditioner is always working at its best! Thank you for choosing our services. Stay cool and comfortable with us.
Email us
Email :aircongiold@gmail.com
Call us
Phone :+60183843714


")
")
")
")
")
")
")
")
")